Cfdisk Basic Partitioning Scenarios
Views
Actions
Namespaces
Variants
Tools
The Two Partition Scenario
In this scenario, Boot, Root, and Home will be combined into a single bootable partition (SDA1). A seperate swap partition will also be created in the remaining space, using a logical partition (SDA2/SDA5).
Creating the Paritions
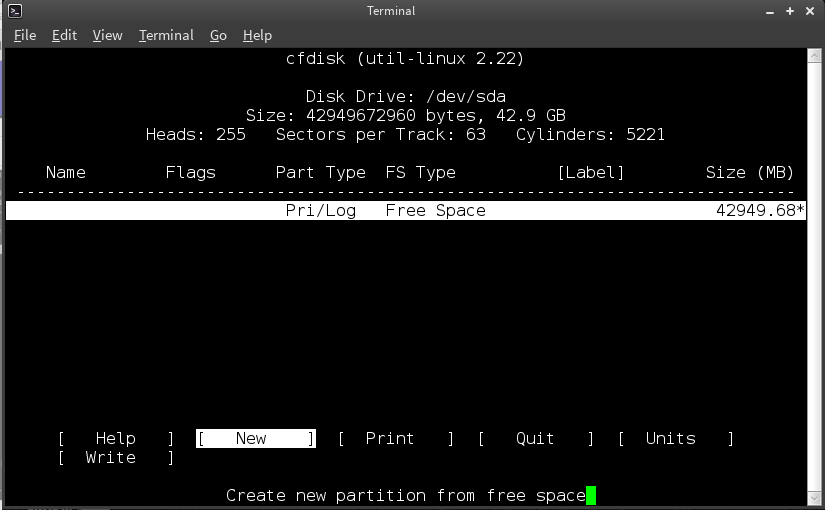
Use the left and right arrow keys to select the available options in cfdisk. The up and down arrow keys are used to select disk space / partitions. In this instance, Manjaro is being installed on a clean hard disk with no existing partitions or data. New has been highlighted to create the first new partition.
Press <enter> to continue.
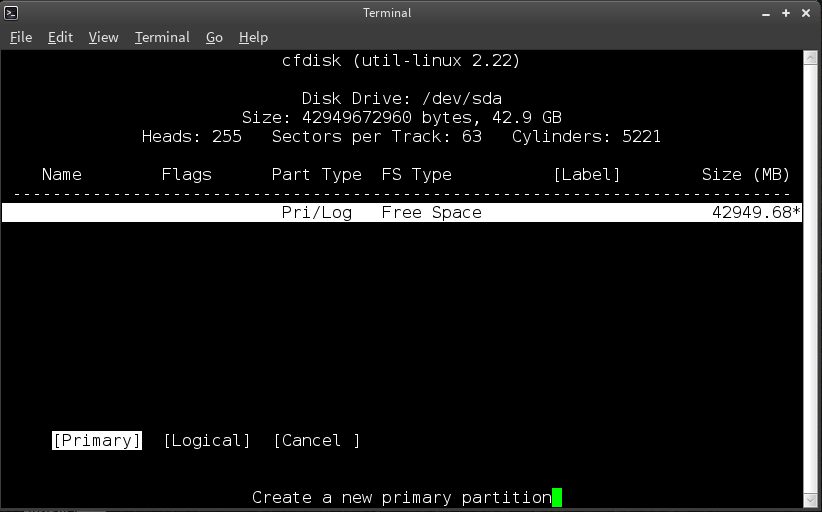
The first step will be to define if it is a Primary or Logical Partition. In this instance, Primary has been selected.
Press <enter> to continue.
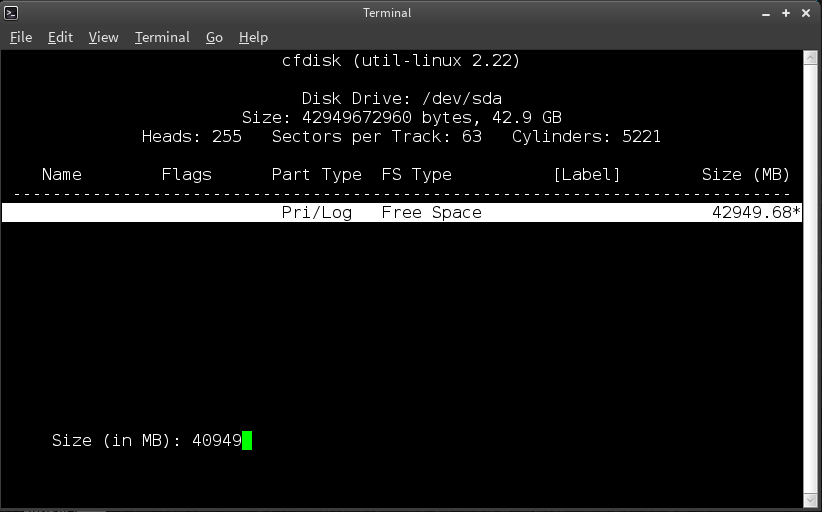
The second step is to define the size of the partition. In this instance, 40,949MB (40GB) out of a total of 42,949MB (42GB), has been allocated, with the intention to leave approximately 2000MB (2GB) remaining for the swap partition.
Once the value has been set, press <enter> to continue.
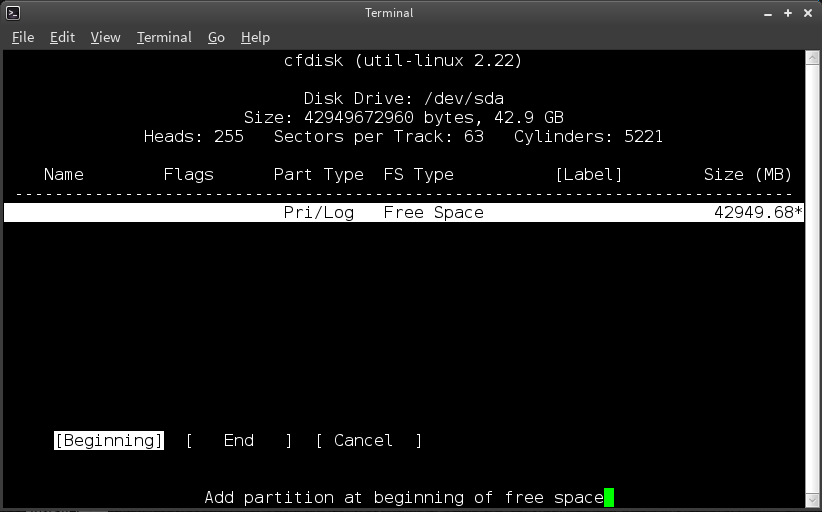
The third (and final) step is to define where the partition starts on your hard drive (i.e. from the beginning or the end of the available space). As with this instance - unless you have a specific reason to do otherwise - it is recommended to always start your partition(s) at the beginning of your hard drive / available space on your hard drive.
Once the selection has been highlighted, press <enter> to continue.
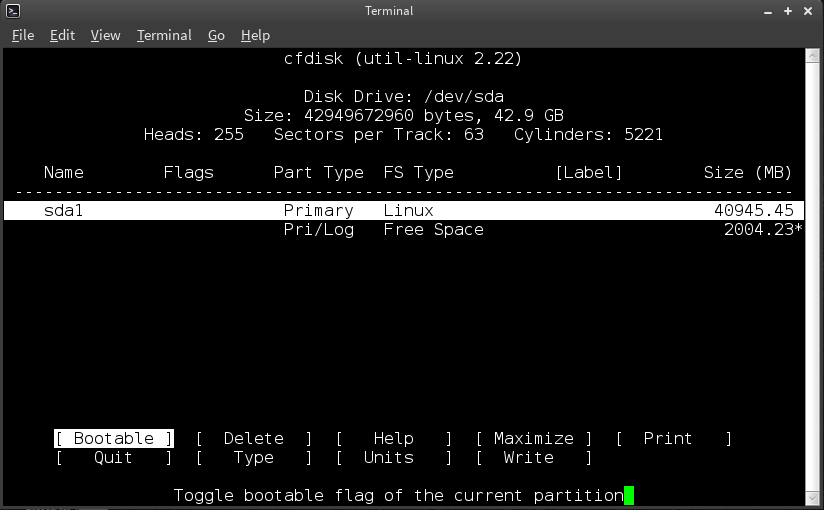
This partition must also be bootable, as it is intended to contain the Boot/GRUB. To mark it as such, the Bootable flag/option has been highlighted.
Press <enter> to continue.
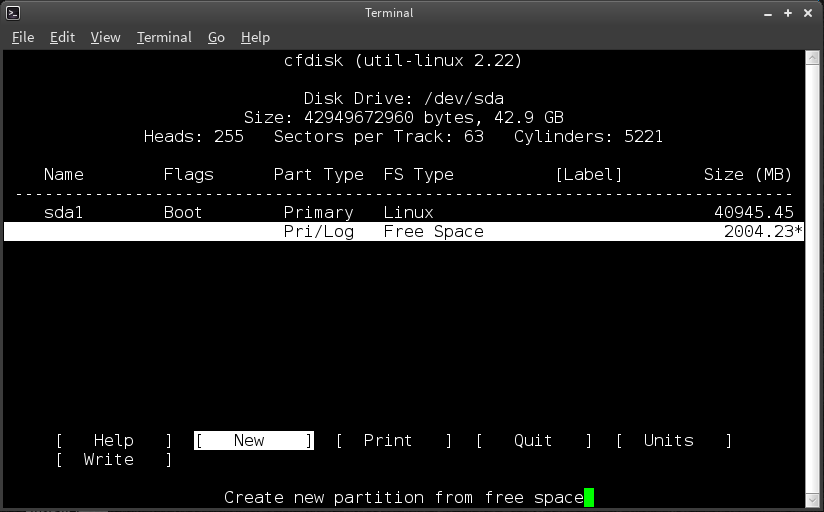
Note that the partition - listed as sda1 - has now been flagged as boot.
With this complete, the swap partition will now be created. This is undertaken by first selecting the free space underneath the partition, and then highlighting the New option.
Press <enter> to continue.
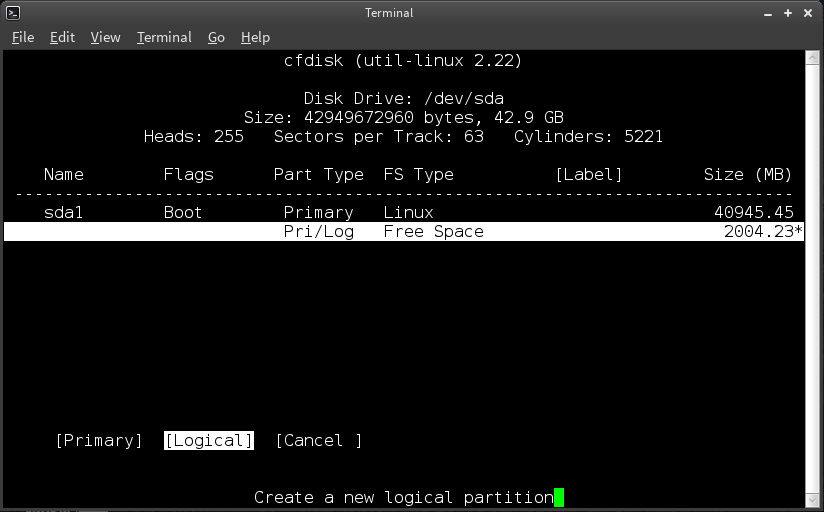
As before, the first step is to define the type of partition to be used. In this instance, for illustrative purposes, the swap partition has been defined as a Logical partition, although it would make no real difference if it were defined as a primary partition instead.
Press <enter> to continue.
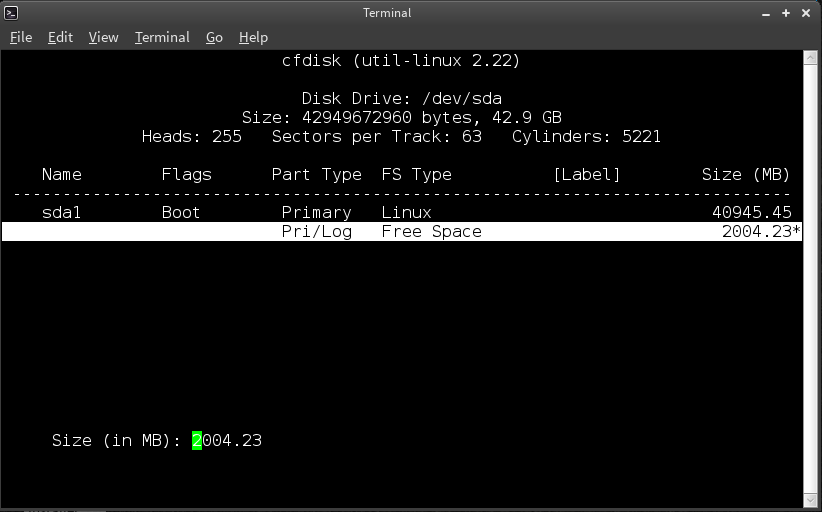
Again, the second step is to define the size of the new partition. In this instance, the remaining space of 2GB has been allocated, which has already been listed by default.
Press <enter> to continue.
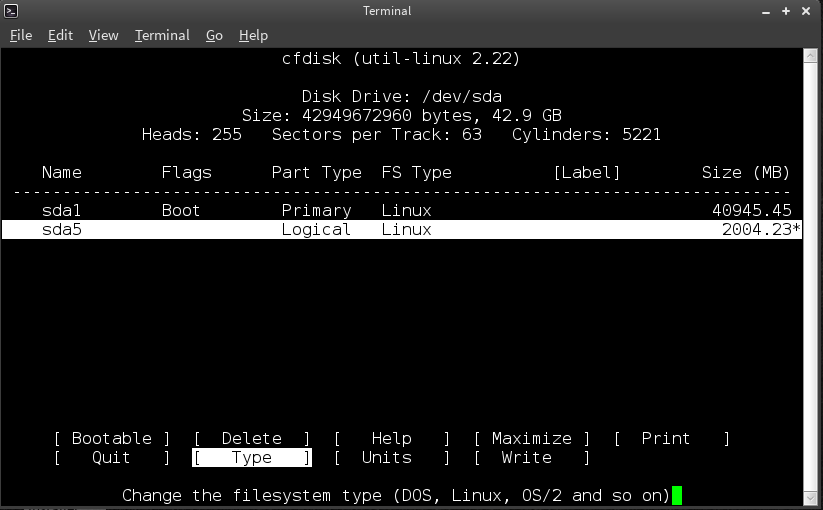
As this newly created partition is intended to be used as a swap partition, it is necessary to specifically define its type as such. To do so, the Type option has been highlighted.
Press <enter> to continue.
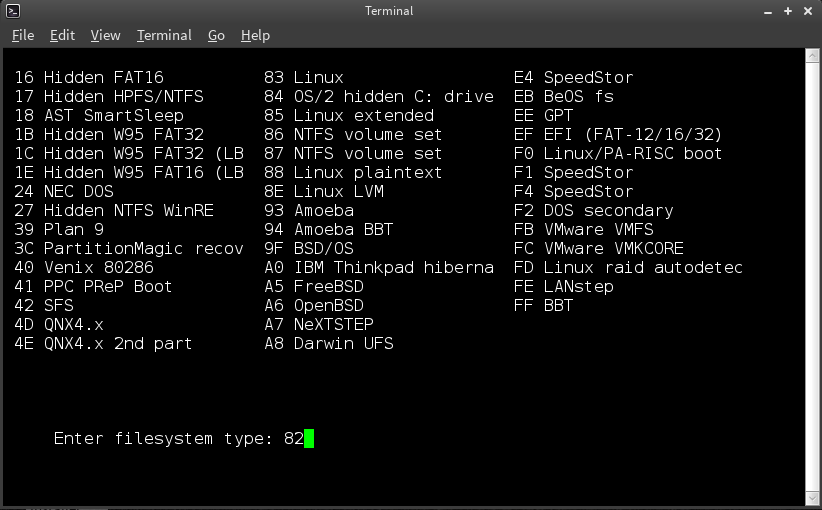
A list of (hexadecimal) codes corresponding to the available types of partition will be displayed. It will be necessary to press a key to continue and enter the appropriate code.
In this instance - as illustrated - the code 82 has been typed in to define the partition type as swap.
Once the code has been typed in, press <enter> to continue.
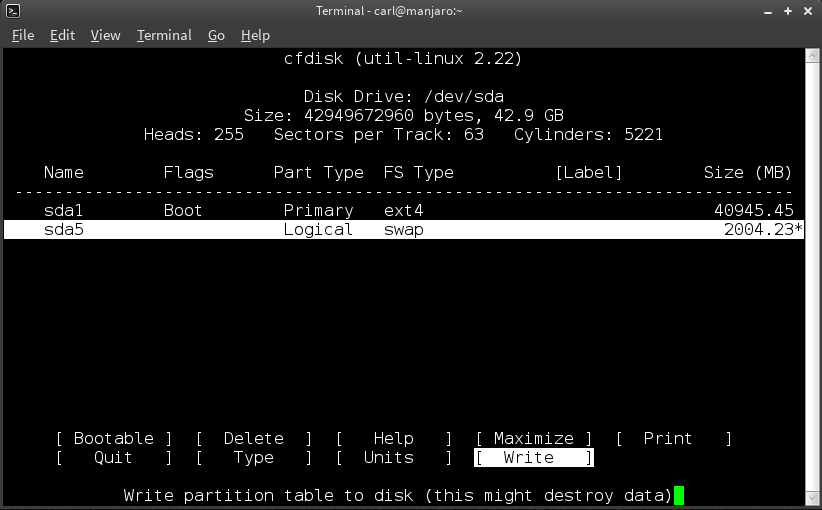
Note that the swap partition has been listed as sda5. This is because primary partitions only range from sda1 to sda4, while logical partitions always start from sda5. Also note that sda5 is listed as a swap partition.
With both partitions created and defined, the partition table must now be written to the hard disk. To do so, the write option must be highlighted, before pressing <enter> to continue.
Upon doing so a warning message will appear. It will also be necessary to confirm your intention to write the new partitions by typing in yes at the prompt and then pressing <enter> again.
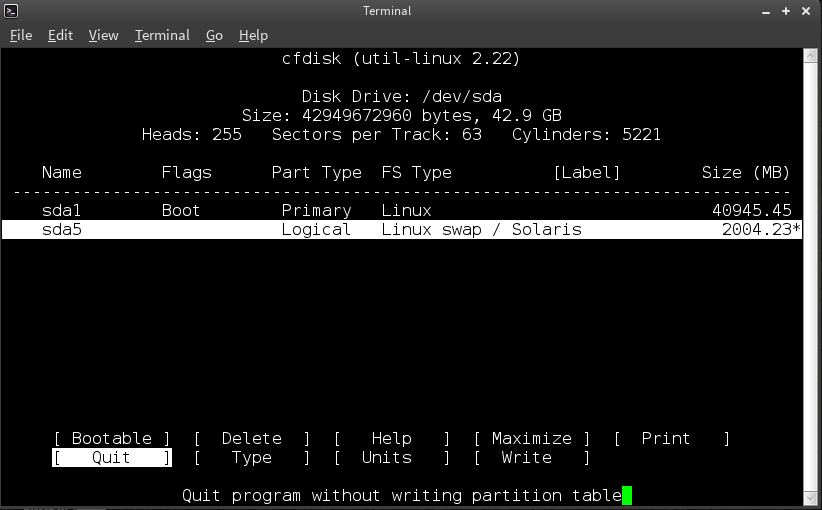
With the partitions completed and written, highlight quit to exit from cfdisk.
Press <enter> to continue.
Finalising the Disk Preparation
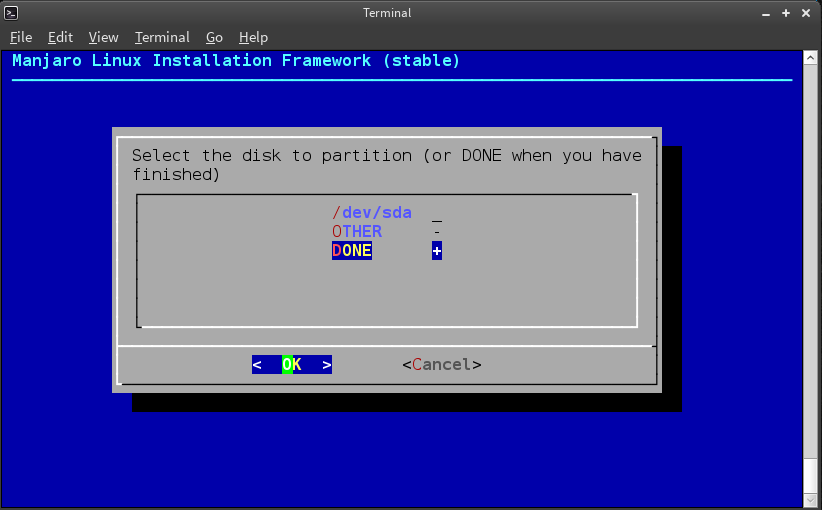
You will be returned to the hard disk selection menu. Highlight Done as the disk partitioning has been completed.
Press <enter> to continue.
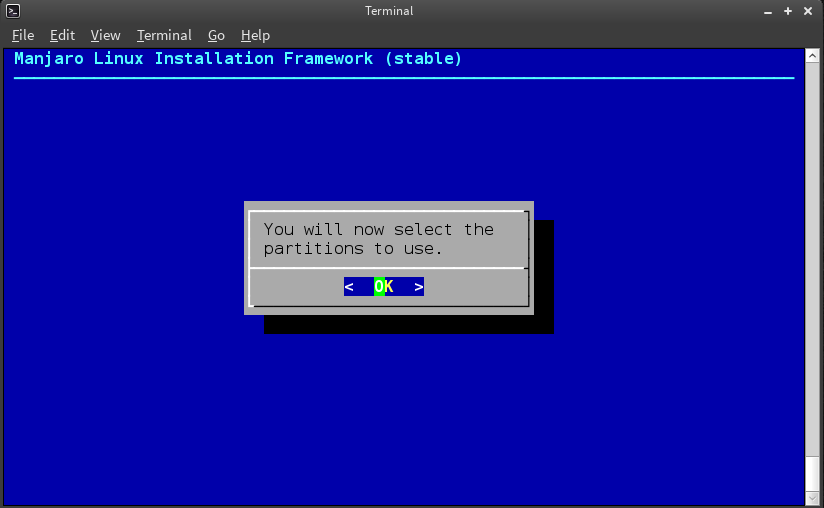
A message will appear stating that it will now be necessary to select the appropriate partitions to use for the Manjaro installation.
Press <enter> to continue.
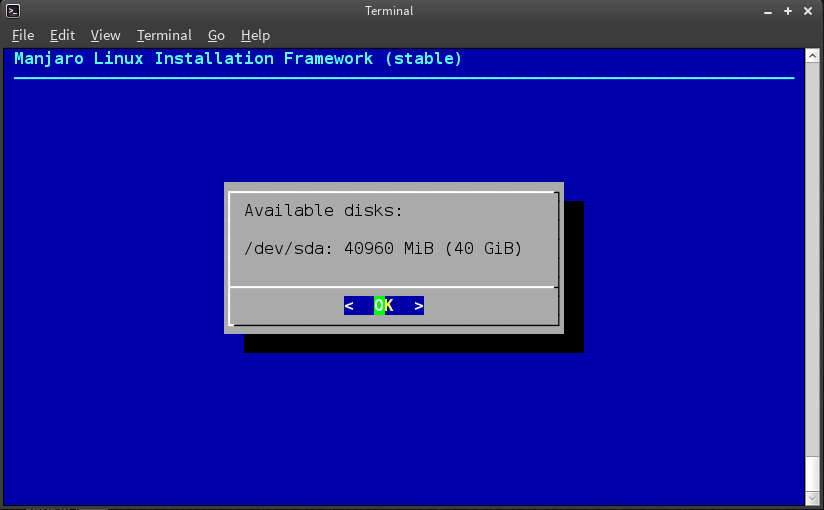
As before,The installer will automatically detect and display all hard discs connected to your system. Where more than one drive is present on your system, highlight the drive partitioned earlier.
Press <enter> to continue.
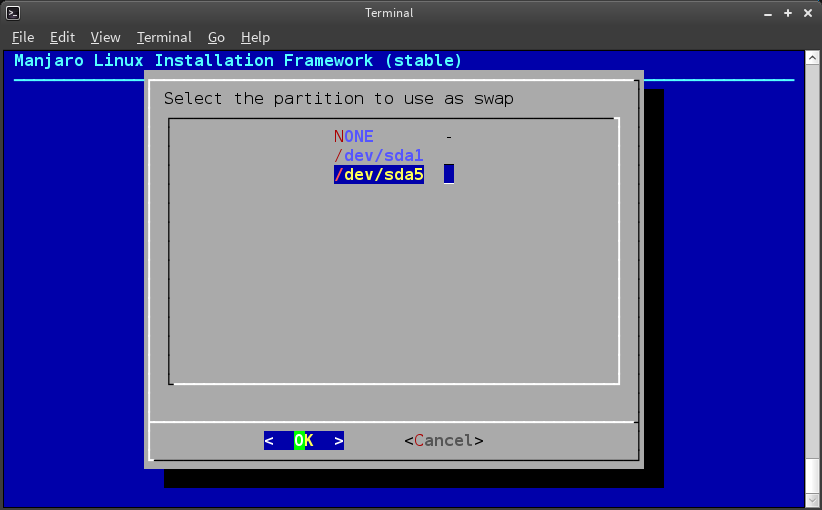
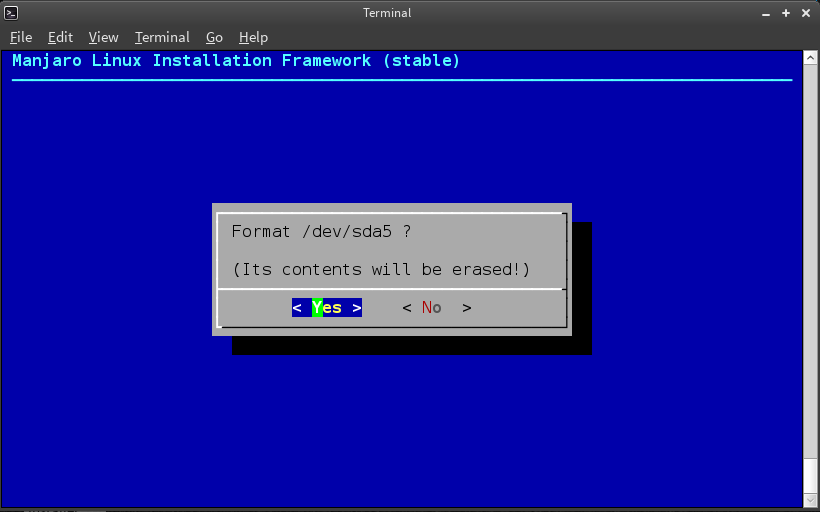
Select the appropriate partition to use for the Swap. In this instance, the swap partition is sda5, which has been highlighted for selection.
Press <enter> to continue.
Confirm that you wish to format your chosen partition.
Press <enter> to continue.
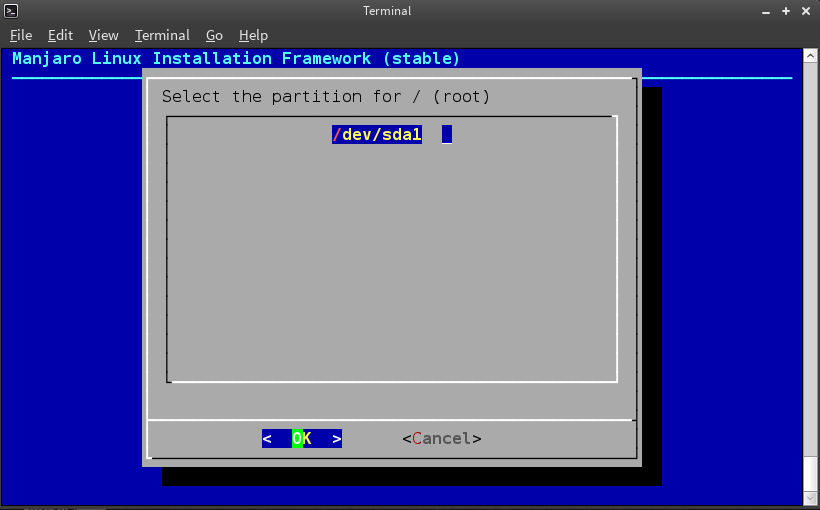
Select the appropriate partition to use for the Root. Again, this is where Manjaro itself (and later, any newly installed applications for it) will be stored. In this instance, it's an easy choice as the only remaining partition available is sda1.
Press <enter> to continue.
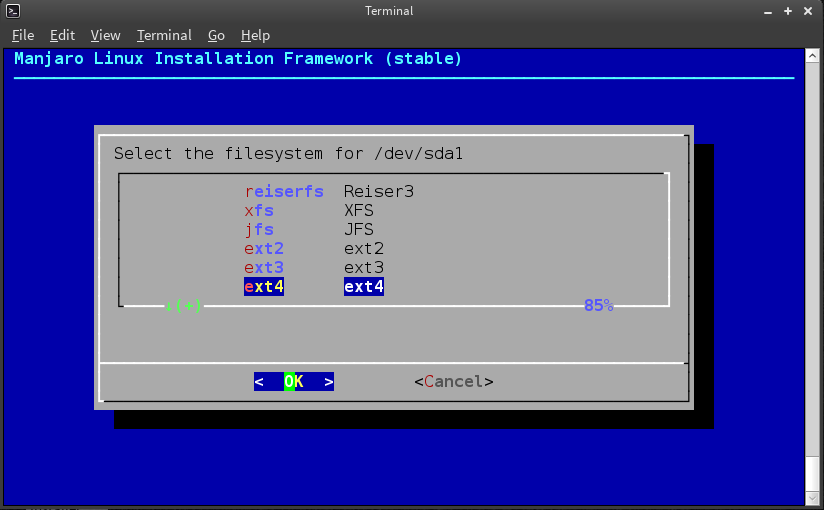
Set the file system to manage your files. If you are unsure which file system to choose, as illustrated, then it is recommend to highlight ext4, as this is one of the latest and perhaps most widely used Linux file systems.
Press <enter> to continue
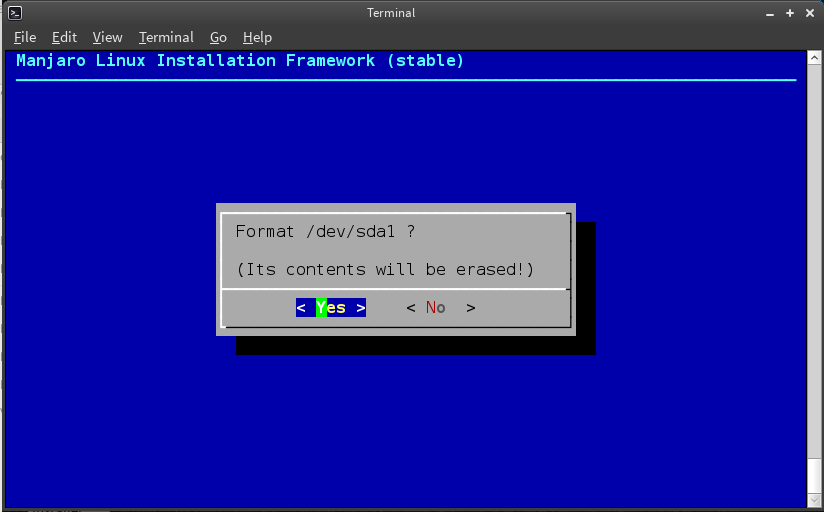
Confirm that you wish to format your chosen partition.
Press <enter> to continue.
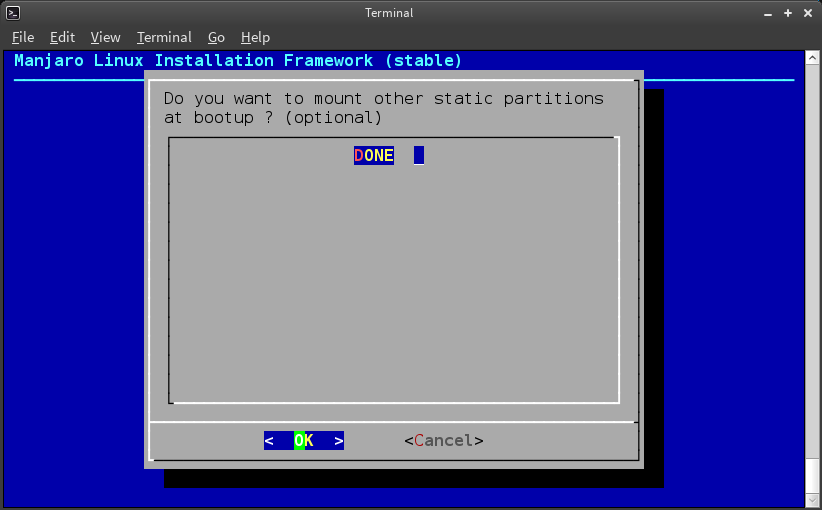
Select any other partitions to mount at bootup. If a separate Boot Partition had been created, it would be selected here. Upon pressing <enter> to continue, it would then be necessary to select which file system to use for it (e.g. ext4), and then to confirm that it is to be mounted at '/boot'.
Once completed, the process would also be repeated for any other relevant partitions, such as if a separate Home Partition had been created. In essence, it will be necessary to select and mount all of the partitions you had created for your Manjaro installation so that they will all be available for use upon booting up.
However, as in this instance only two partitions had been created (one of which combines Boot, Root, and Home), there are no further partitions to select.
Press <enter> to continue.
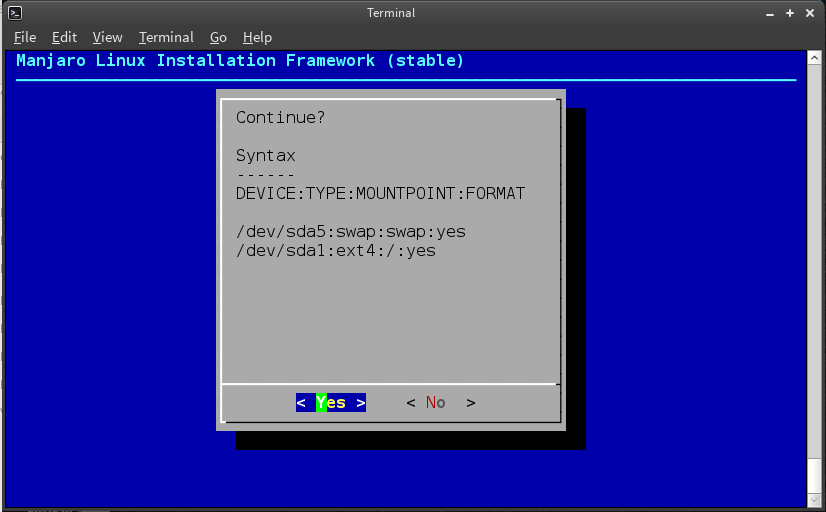
Review and confirm the mounted partitions. A confirmation message will appear, listing all of the partitions to mounted during the bootup of your Manjaro installation. Ensure that all of your intended partitions have been listed, and that they have been listed correctly (e.g. purposes and file systems). If something is amiss, highlight No to be taken back.
Again, in this instance, the message confirms that sda5 is to be mounted as the Swap Partition, and that sda1 is to be mounted (using the ext4 file system) for everything else.
Press <enter> to continue.
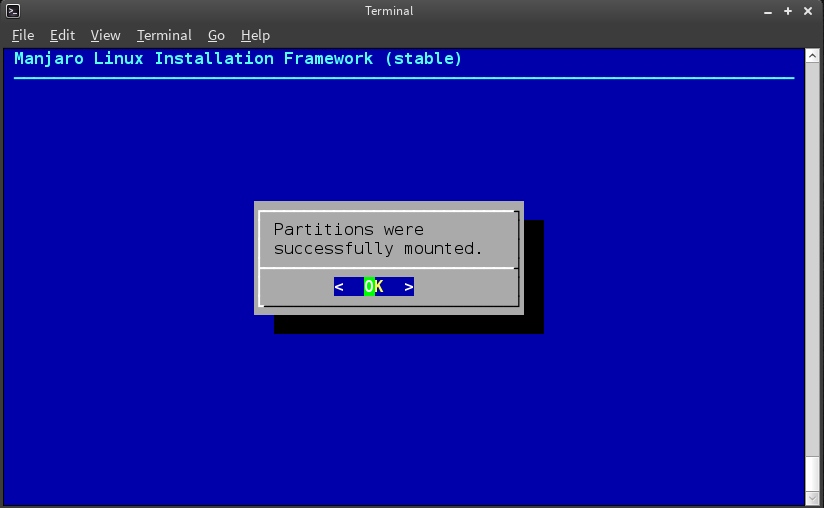
After a few moments, a message will appear to confirm that the partitions have been successfully mounted.
Press <enter> to continue.
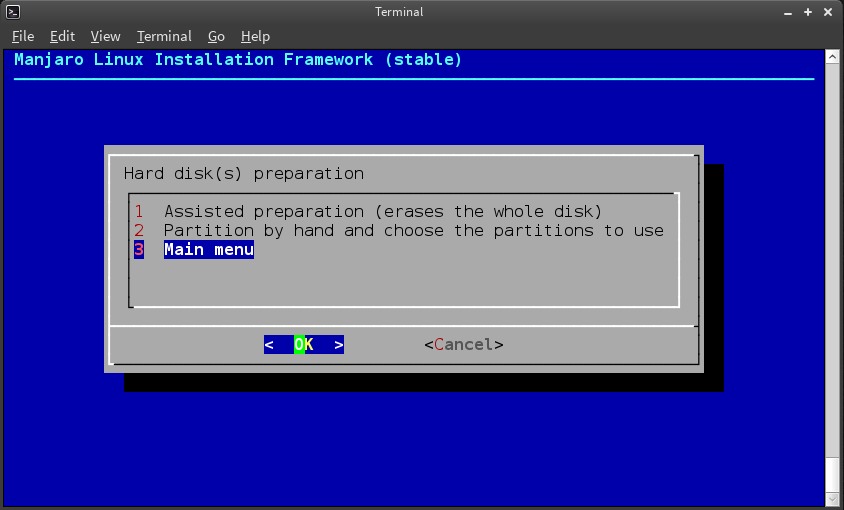
Return to the Main Menu. As this step has been completed, highlight Main menu and press <enter> to be taken back to the installer's main menu.
