Установка менеджера дисплея
Views
Actions
Namespaces
Variants
Tools
Обзор
Менеджеры дисплеев используются для обеспечения экранов входа в систему и поэтому служат защитными барьерами безопасности для предотвращения несанкционированного доступа к вашей системе.
Их также называют Менеджерами входа. Как и различные среды рабочего стола, различные менеджеры дисплея требуют различных системных ресурсов для работы и предоставляют свои собственные уникальные стили, интерфейсы и функции. Общие функции - особенно в отношении перечисленных ниже менеджеров дисплея - включают настройку/тематику, автоматический вход в систему и выбор нескольких сред рабочего стола.
.
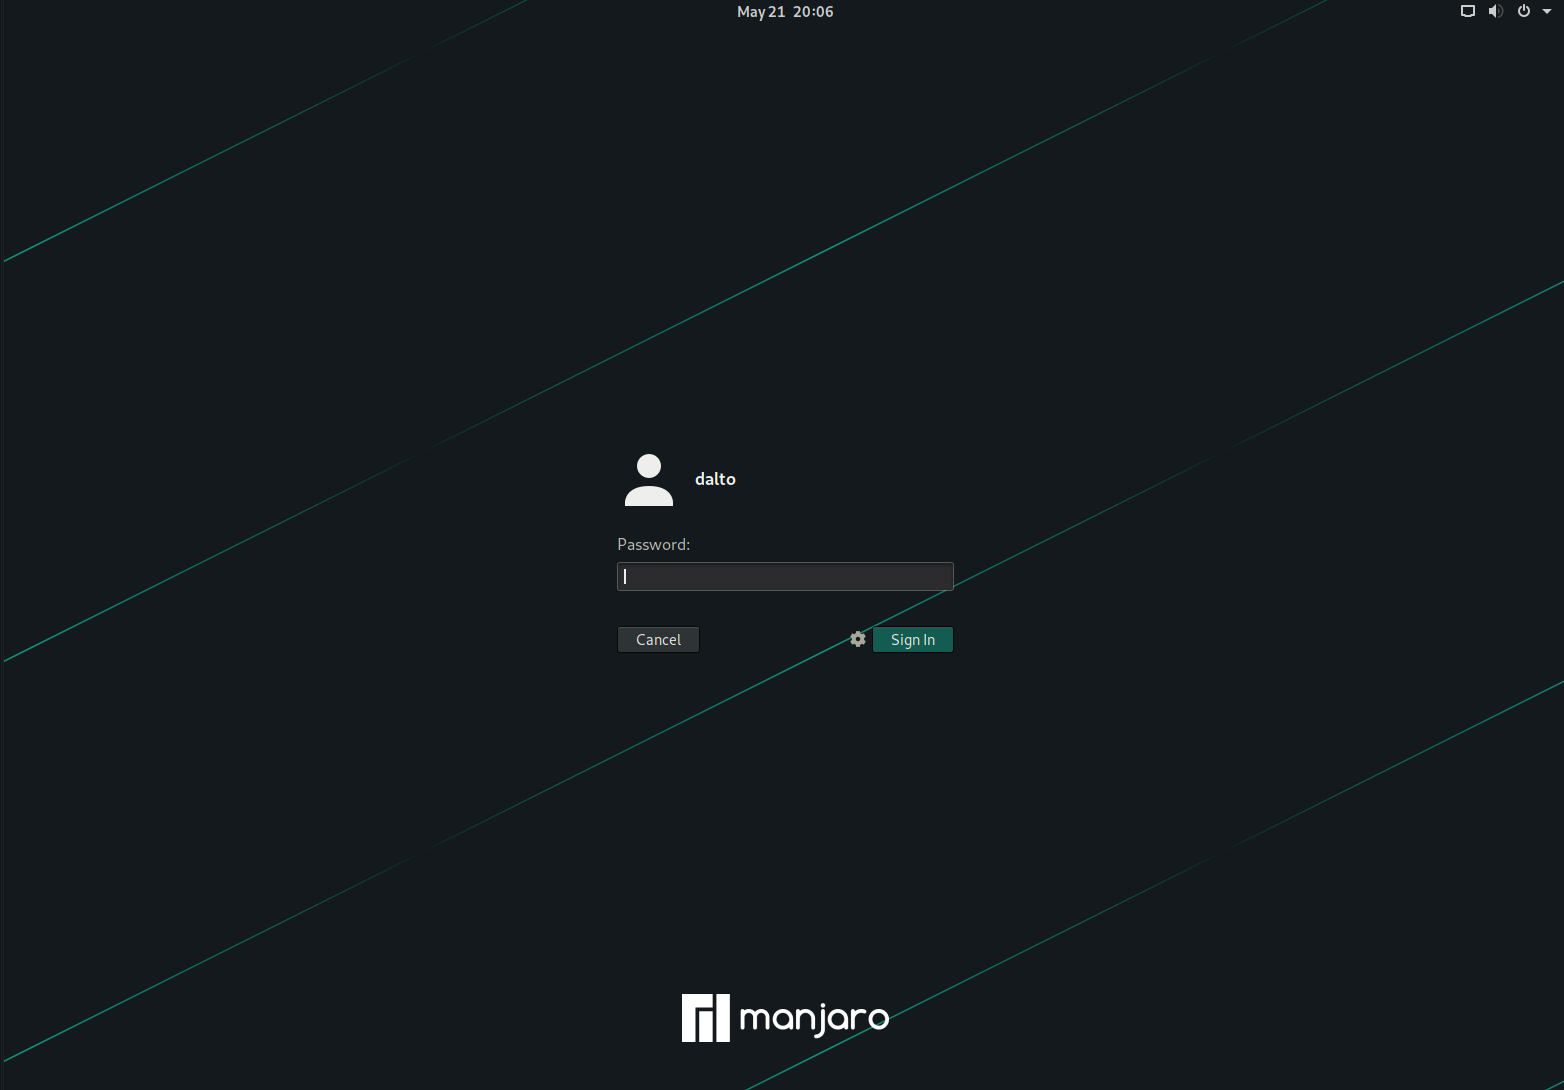
GDM
| GDM - Gnome Display Manager - предназначен для использования с Gnome 3. Он поддерживает тематизацию, автоматический вход в систему, а также автоматическое обнаружение и использование нескольких окружений рабочего стола. Специально для тех, кто использует Gnome 3. GDM обычно используется только в паре с окружением рабочего стола Gnome, поскольку GDM зависит от большого количества окружений рабочего стола Gnome.
GDM можно установить, введя следующую команду: user $ pamac install gdm
Чтобы включить GDM в качестве диспетчера дисплеев по умолчанию, выполните команду: user $ systemctl enable gdm.service --force
Чтобы установить специфическую тематику Manjaro для GDM, вы можете использовать команду: user $ pamac install manjaro-gdm-theme
Если использовать Plymouth, то служба, которую нужно включить, это user $ systemctl enable gdm-plymouth.service --force
|
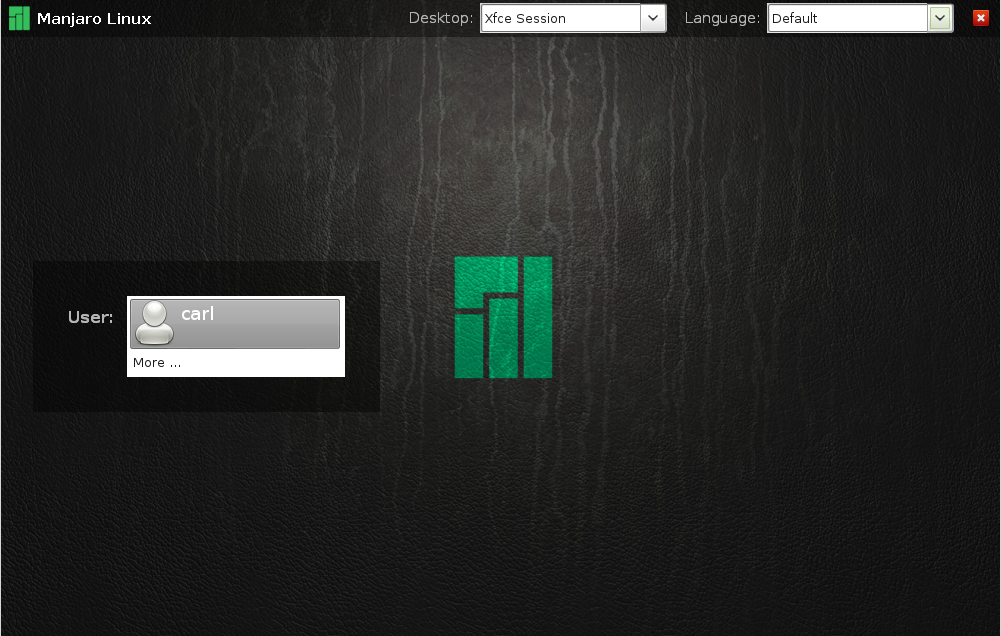
LXDM
| LXDM - the Lightweight X-Windows Display Manager - предназначен для использования с любой средой рабочего стола. Он поддерживает тематизацию, автоматический вход в систему, простой выбор нескольких языков, а также автоматическое обнаружение и использование нескольких сред рабочего стола.
To install LXDM, enter the command: user $ pamac install lxdm
To enable LXDM as your default display manager use the command: user $ sudo systemctl enable lxdm.service --force
If using Plymouth the service to enable is user $ systemctl enable lxdm-plymouth.service --force
|
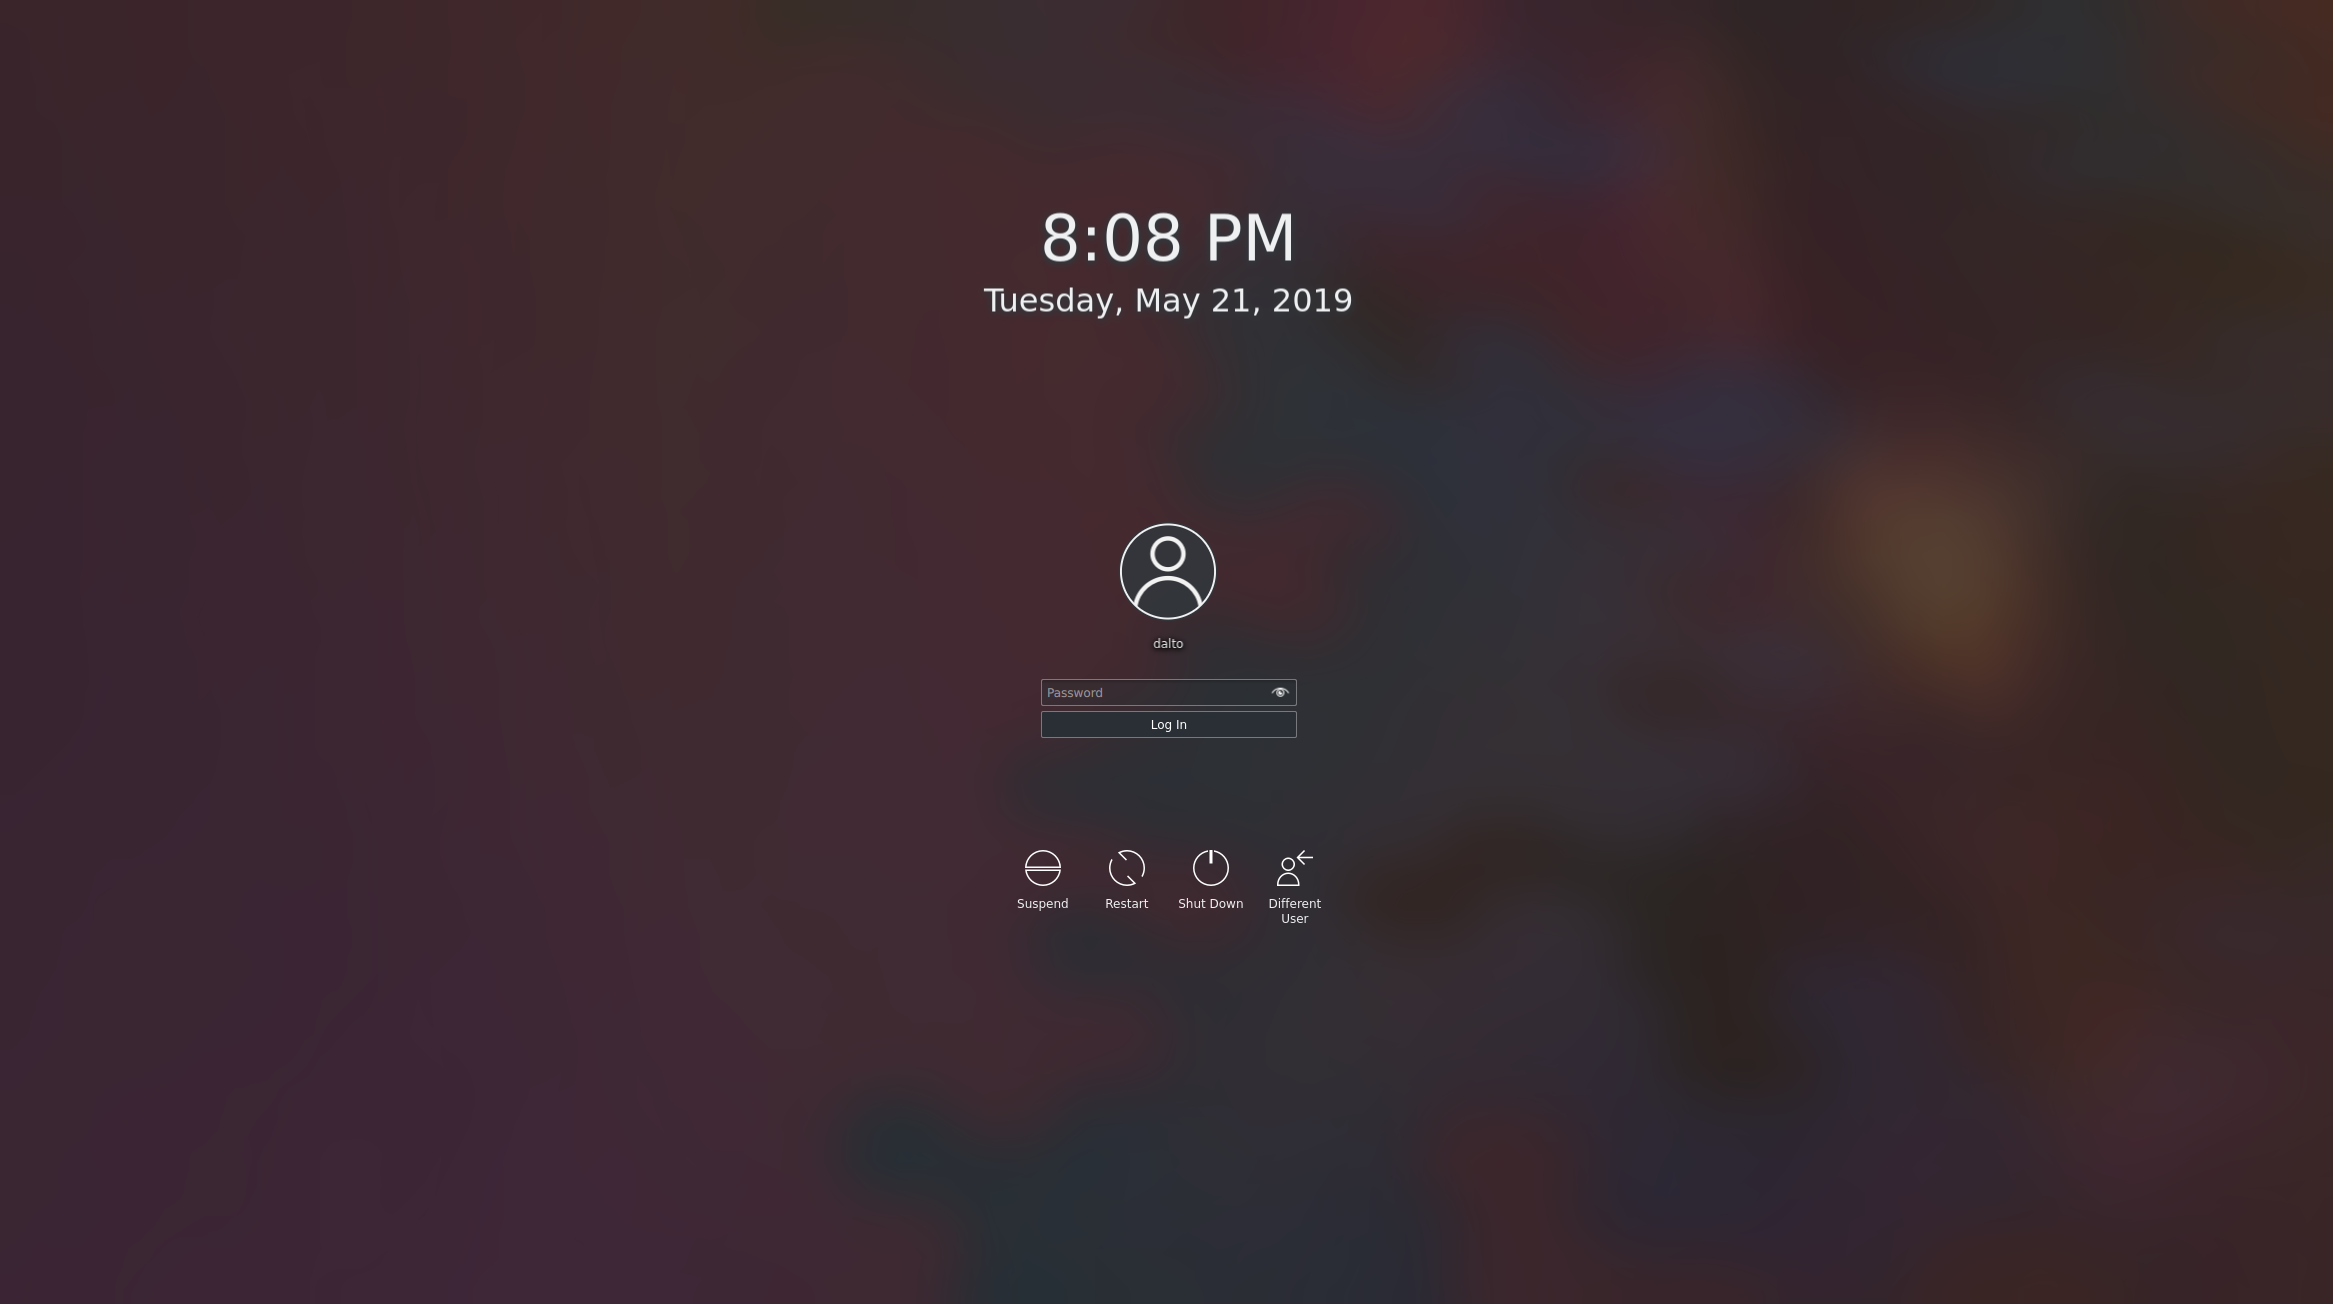
SDDM
| SDDM is a relatively new and lightweight QML-based display manager with minimal dependencies for use with any desktop environment. It supports theming, automatic login, and the automatic detection and use of multiple desktop environments.
To install SDDM, enter the command: user $ pamac install sddm
To enable SDDM enter the command: user $ sudo systemctl enable sddm.service --force
If using Plymouth the service to enable is user $ systemctl enable sddm-plymouth.service --force
|
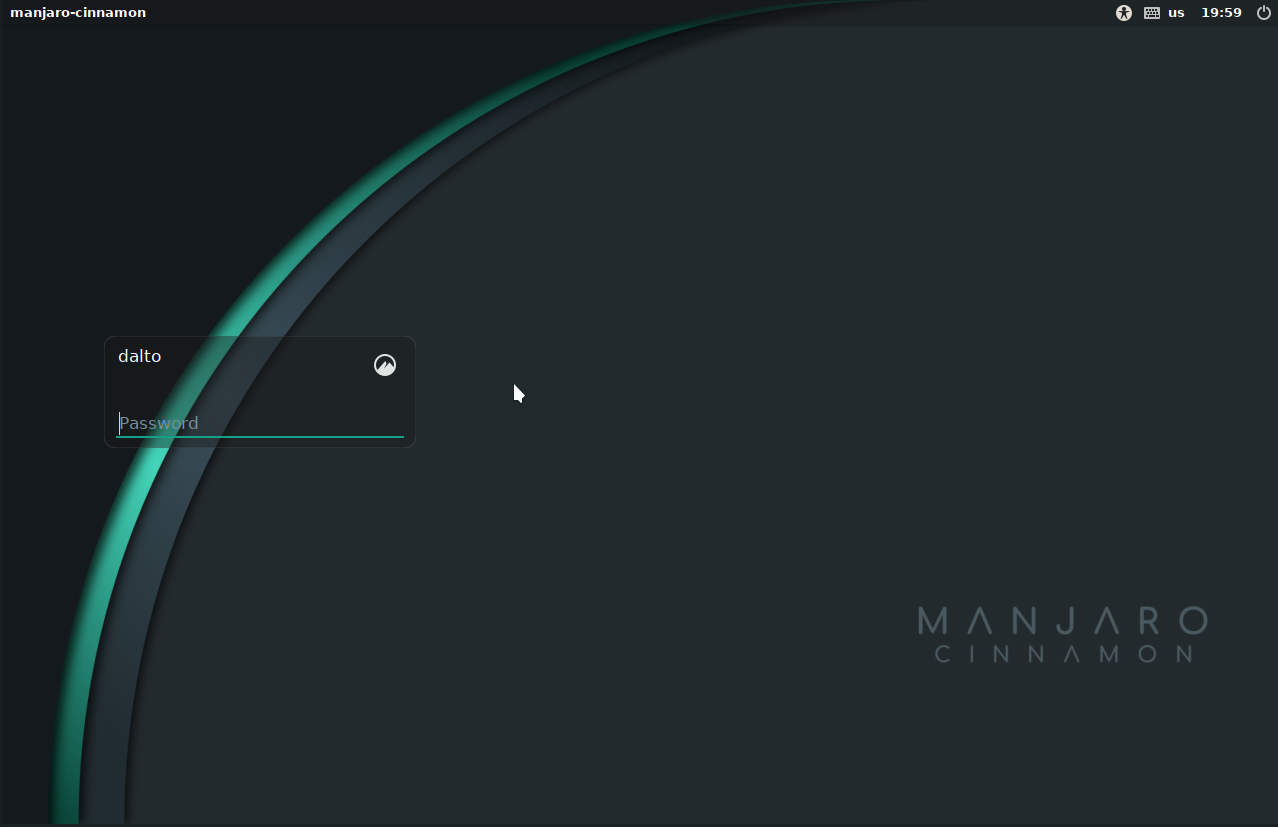
LightDM
| LightDM is a light display manager with minimal dependencies.
To install LightDM, enter the command: user $ pamac install lightdm
To enable LightDM as the default display manager use: user $ sudo systemctl enable lightdm.service --force
If using Plymouth the service to enable is user $ systemctl enable lightdm-plymouth.service --force
With LightDM, you also will need to install and configure a greeter. If you don't install a greeter, it won't work. There are a lot of greeters for LightDM. We will cover two of the greeters most commonly used by Manjaro editions. |
Lightdm Greeters
Slick Greeter
Install the greeter and the configuration tool:
Edit the file /etc/lightdm/lightdm.conf. For instructions on how to edit a file owned by root see this guide.
Locate the section [Seat:*]. Within that section locate the line containing greeter-session= and replace the entire line with
[Seat:*]
....
greeter-session=lightdm-slick-greeter
...
The slick-greeter ships with a working configuration file but you can optionally run the "Login Window"(lightdm-settings) application and customize the greeter in many ways.
GTK Greeter
Install the greeter and the configuration tool:
Edit the file /etc/lightdm/lightdm.conf. For instructions on how to edit a file owned by root see this guide.
Locate the section [Seat:*]. Within that section locate the line containing greeter-session= and replace the entire line with
[Seat:*]
....
greeter-session=lightdm-gtk-greeter
....
The gtk greeter ships with a working configuration file but you can optionally run the "LightDM GTK+ Greeter Settings"(lightdm-gtk-greeter-settings) application and customize the greeter in many ways.
Entrance
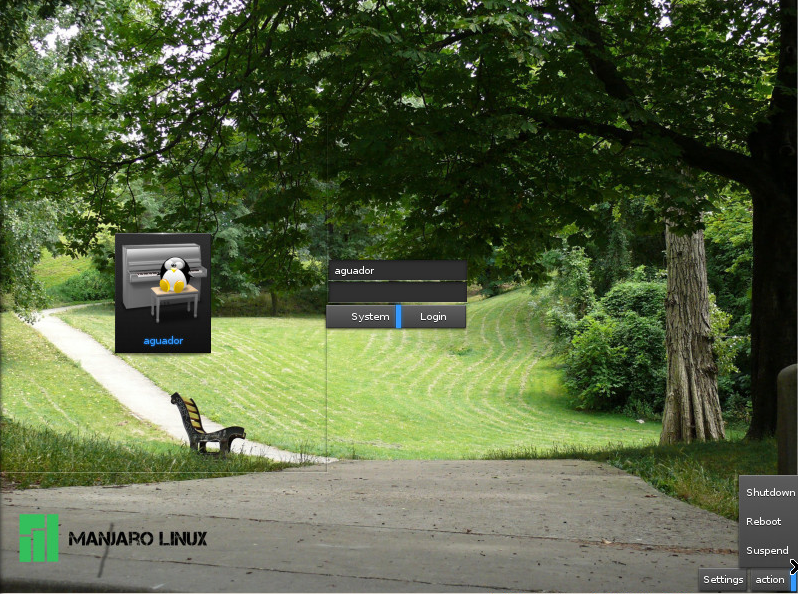
| Entrance is a configurable DM designed for the Enlightenment desktop environment which allows selection of multiple themes, icons, and the enabling of virtual keyboards. The default installation offers a wallpaper with randomly displayed icons for each user account, although a fixed icon can be specified and custom icons compiled and added. When multiple Entrance themes are installed it is possible to have a default theme displayed on startup and individual themes that appear for each user as they begin login.
Entrance is available in the Arch User Repository (AUR) and may be installed using the following command: user $ pamac build entrance-git
To enable Entrance as the default display manager run the command: user $ sudo systemctl enable entrance.service --force
|
